|
|
 < Back << Kartbuilding Home
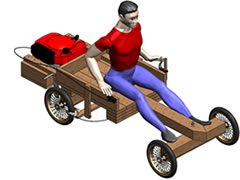
Below is the next drawing in the set of 21 for this wooden go-kart powered with a small lawnmower engine.
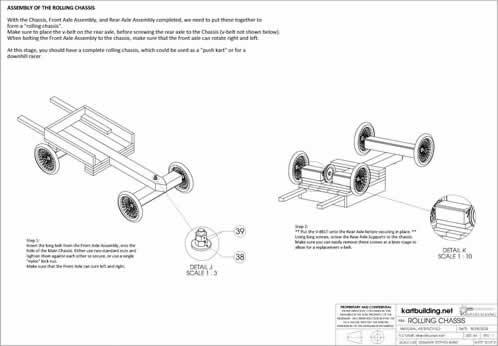
The Front Axle is easily secured to the chassis by means of the large bolt. Use some washers and nut to secure the Front Axle to the Chassis. A small amount of grease can be applied if required between the chassis and the front axle where it pivots. Do not tighten the nut of the front axle too much, otherwise the front axle will not pivot or rotate freely. A "nyloc" locknut should be used as it can be tightened, and it will not loosen on its own or due to vibration. If you don't have a nyloc nut, you can use two ordinary nuts instead, tightening the nuts togther so they will not loosen easily.
The Rear Axle is attached to the chassis using long wood screws. Make sure to insert the V-Belt before you screw the rear axle to the chassis! You could nail the rear axle to the chassis, but if you use screws, you can remove these later, allowing you to detach the rear axle from the chassis to allow you to change the V-belt and/or to work on the rear axle.